Forum Replies Created
-
AuthorReplies
-
There are no standards or rules for focal lengths for establishing wide shots or master shots. If you are outdoors in open space, you can pick the focal length based on the expansion/compression effect you want on objects and the working distance / subject size you want, and the affect on motion, whether lateral or forward/reverse.
Indoors, there may be space restrictions that keep you from using longer focal lengths to create a wide shot, if that’s what you wanted to do. Kurosawa, for example, liked longer lenses so would design the set, whether on stage or on location, to have a removable wall to allow him to back up the camera.
If you are shooting an interior movie on location, you might want to scout with a lens app to figure out what focal lengths you can use to get wide shots and work from there, maybe that gets incorporated into the style of the film if you have to work in smallish rooms in the 18mm to 35mm range (in Super-35) for most wide to medium shots.
Astera tubes are a bit heavy but perhaps a long strip of velcro on the wall and the backside of the tube? Remember you’ll need to pull them down to recharge or replace.
I think the trick for most cinematographers is actually to NOT visualize a script while reading it for the first time!
I don’t think Kubrick had a negative attitude towards digital effects.
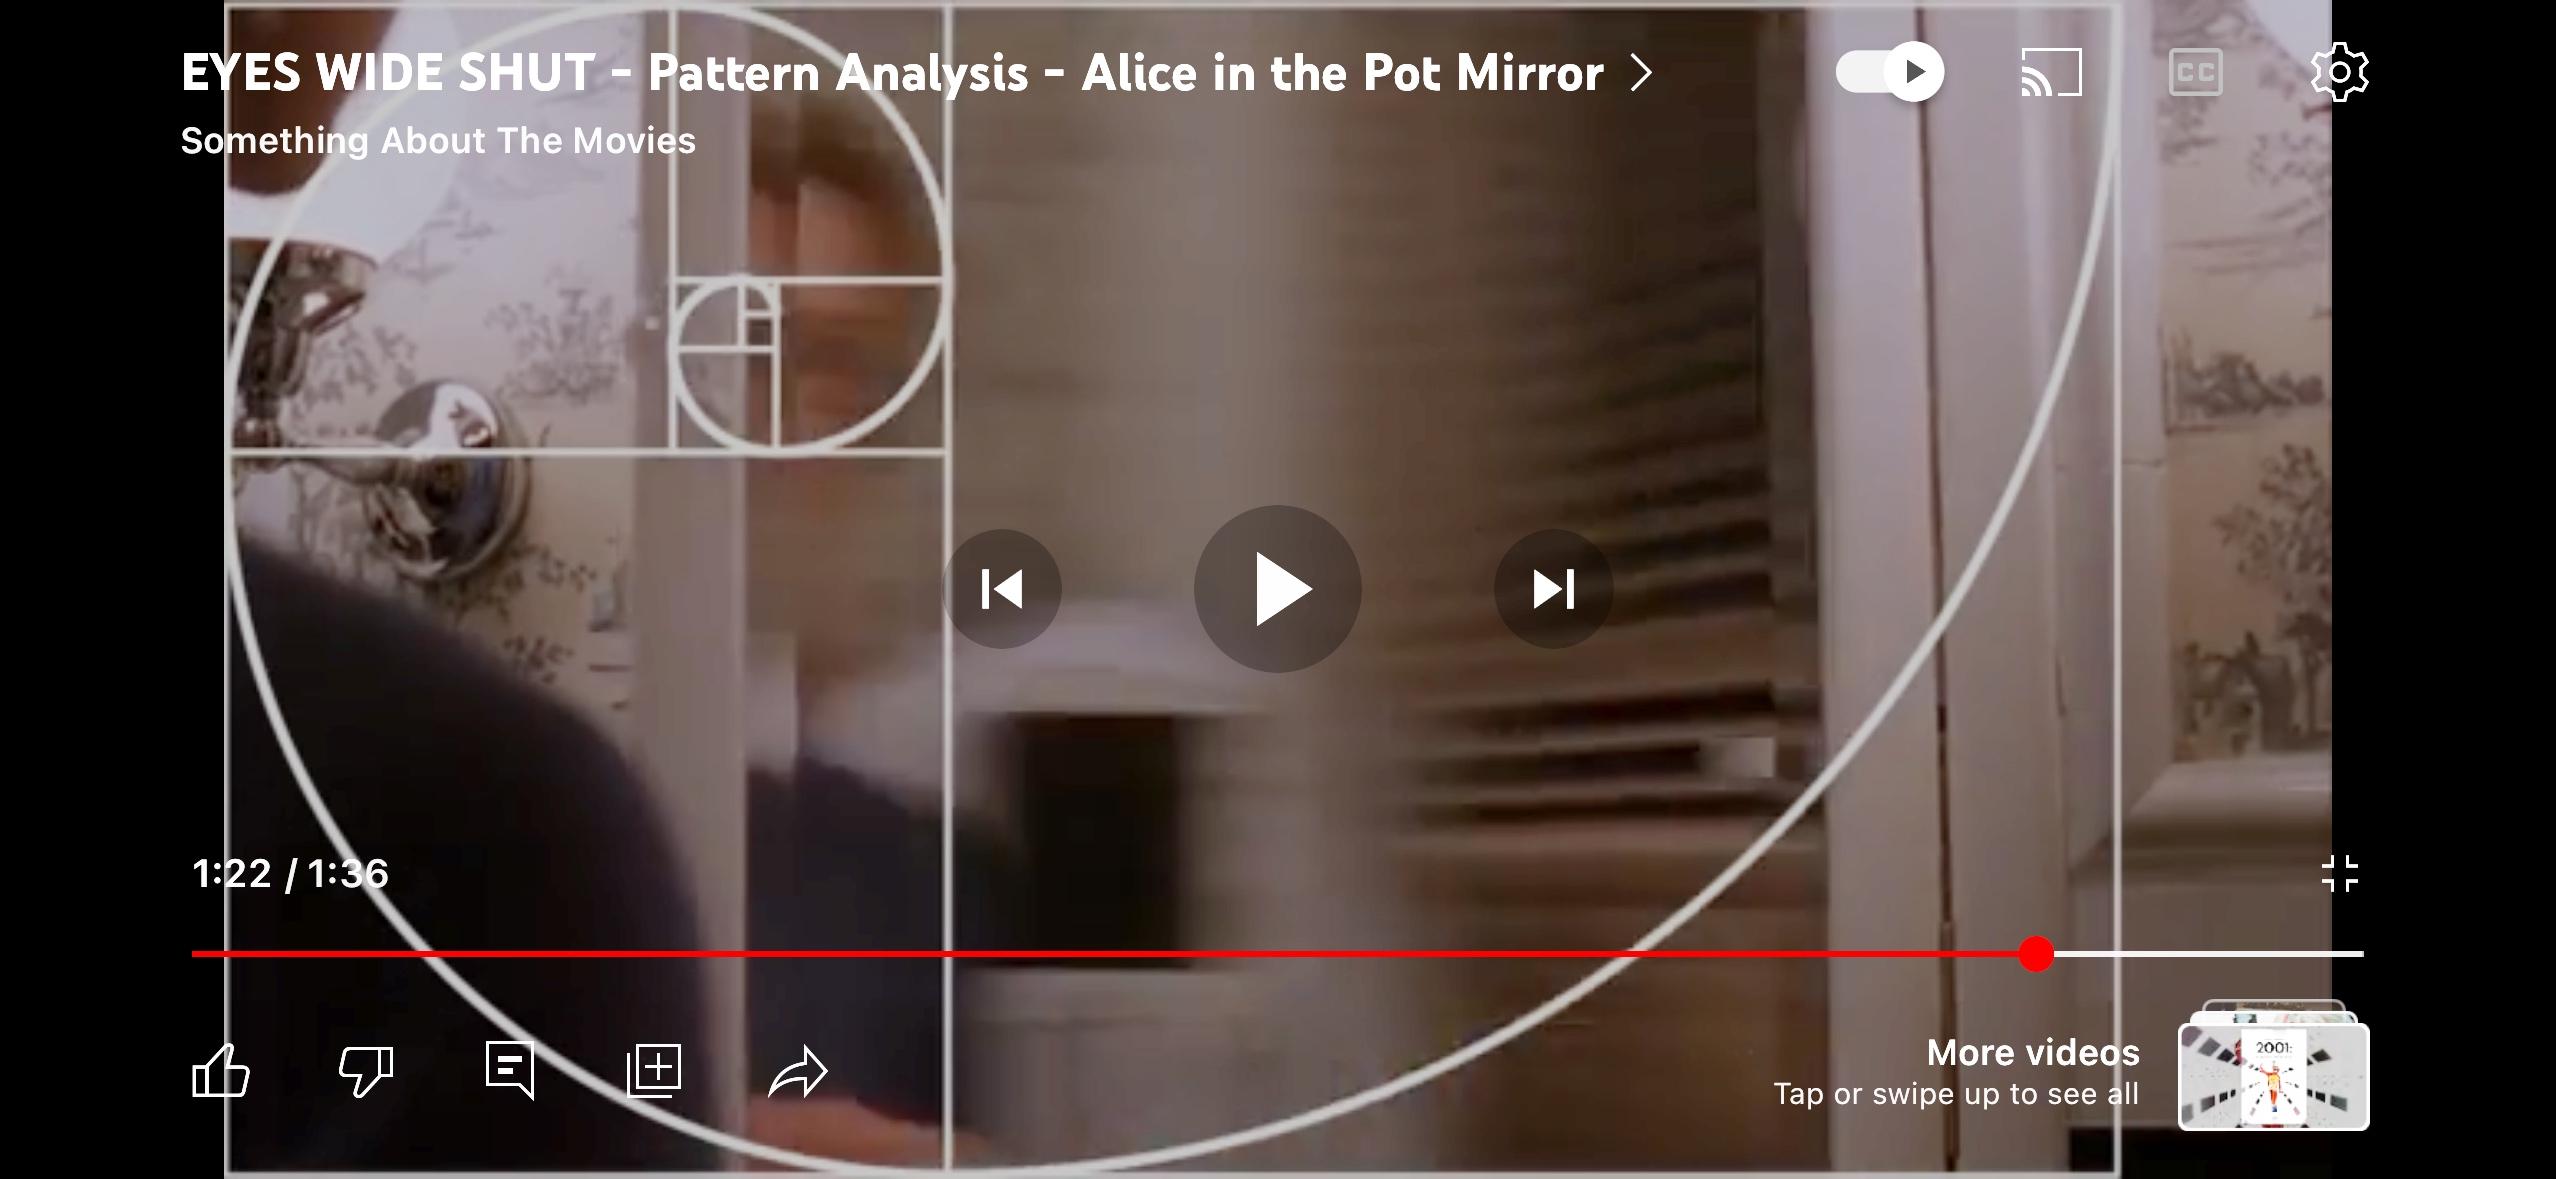
It’s just that he had the time and budget to solve some technical problems on set rather than fix them in post. Building a set with a camera port like that just requires planning, something that Kubrick had time to do. Even if this shot was conceived during a rehearsal, he had time to have his art department change the set and then come back to it in a day or two to shoot the mirror shot. Truth is that a camera port like that might have been conceived in a morning rehearsal and built during a lunch break or even faster. If the production designer allows it, I’ve had my key grip come out with a power saw and cut a hole in a set wall within a few minutes then asked the on-set dresser to hide the hole with something.
Articles at the time mentioned 100T film being used for day exteriors on “No Country for Old Men”.
You can get a denser-than-normal negative by either rating the film ISO slower or just increasing the exposure after your meter reading, it’s the same thing. Or by extended development.
There’s a camera port cut into the set wall:
Roger has used strong colored lighting on occasion, there was the blue-lit face of Daniel Craig in the car in Shanghai (Skyfall), the orange light of Las Vegas and the magenta light when K sees the large hologram advertisement of Joi (Blade Runner 2049), etc.
It comes down to story (the color is emotionally or symbolically motivated, or plot-driven), whether the colored light is naturally motivated (it would be odd if someone was right next to a red neon sign and not have red light on them), and taste.
Sometimes an image is very strong visually because the filmmaker wants to mark that moment in the viewer’s mind.
In theory there wouldn’t be much difference shooting under completely red lighting and under white lighting with a red filter. However sometimes darkrooms have faint tiny lights on machines that would give you a small non-red spot of light.
The main issue to consider is loss of sharpness when everything is red due to the fact that only 25% of the Bayer filter is red — plus your camera may be recording in something other than 4:4:4.
Softness under red light is an issue even when shooting film.
I haven’t tested this myself, but some have suggested shooting under white light or some color light that still allows information to be recorded in the other two channels, maybe magenta or orange light (or filter) and then correcting the image to red in post color-correction. In theory, this may help you retain some sharpness. Worth testing.
There might have been a rough sketch of the layout of vehicles in prep or a few days before but on the day, the director and I just worked with Transpo and Props to create a frame.
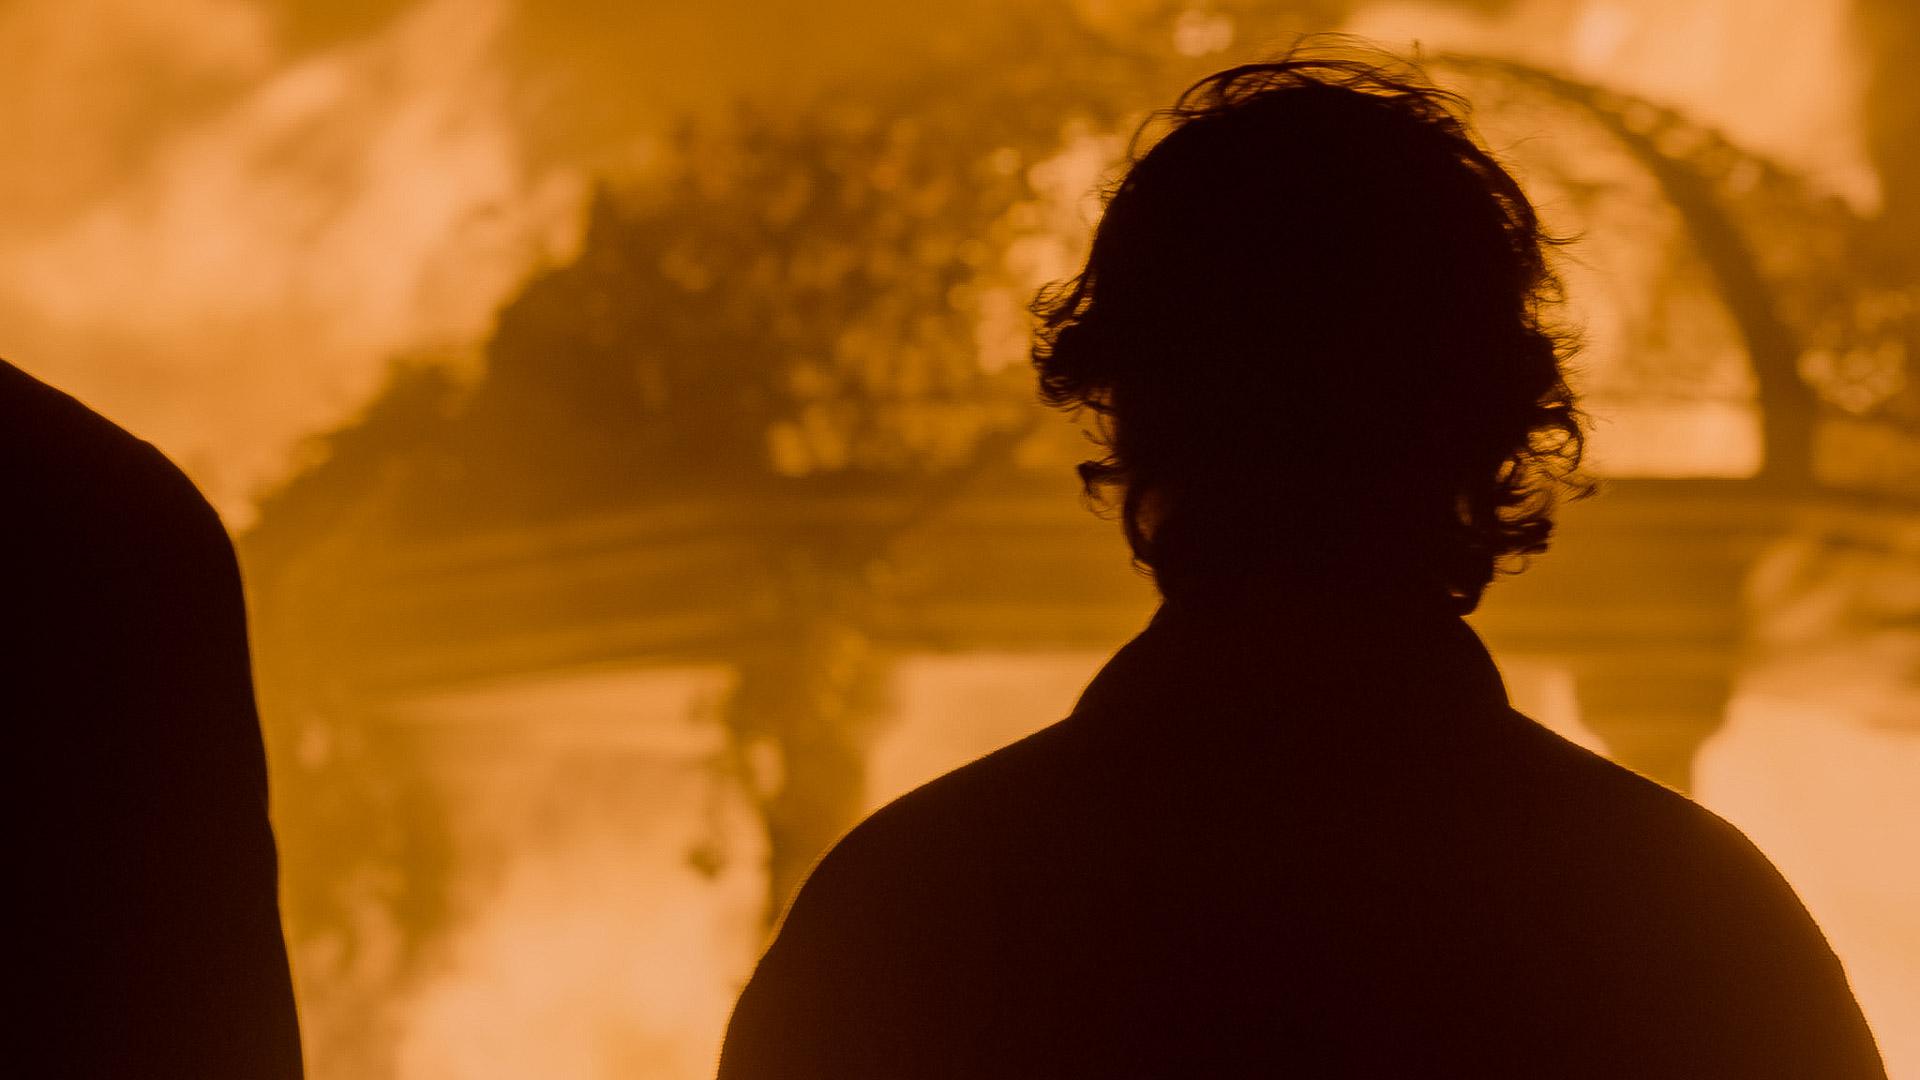
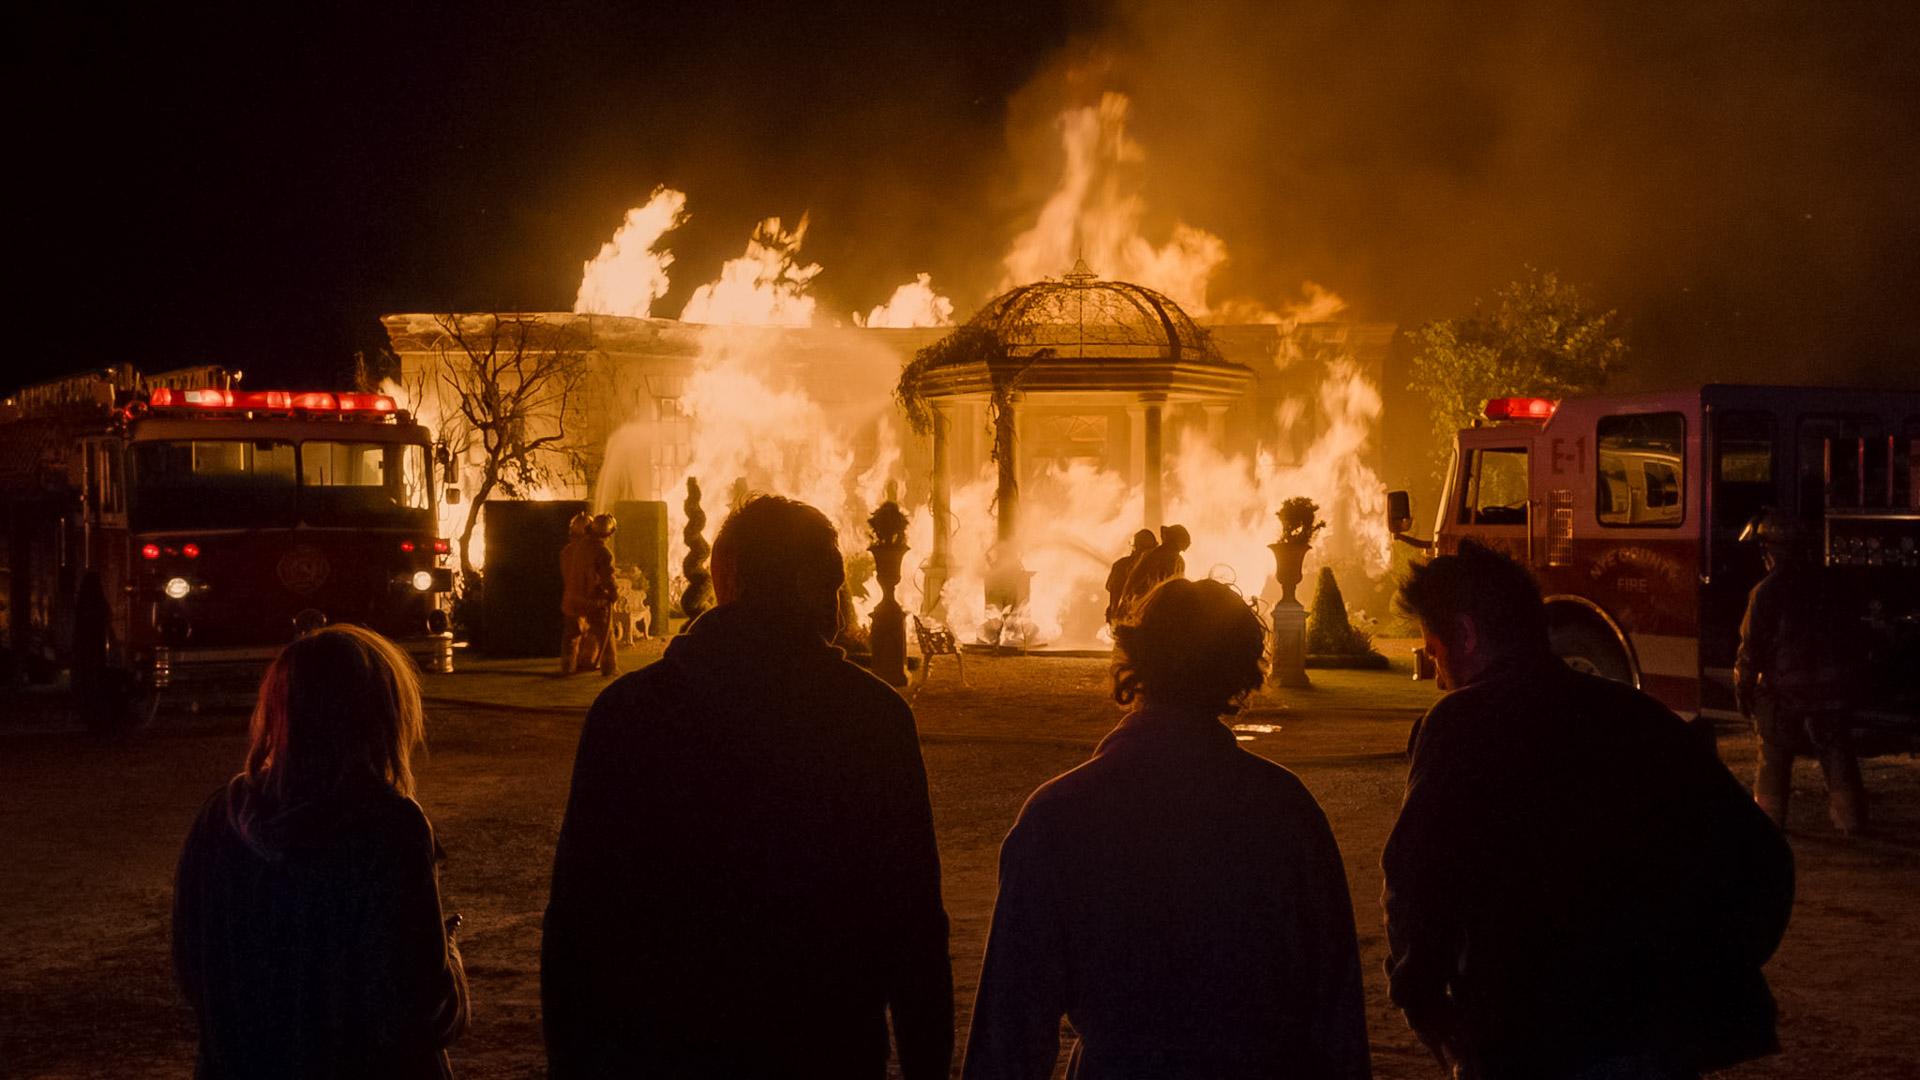
This was shot closer to f/11. But keep in mind, this was not an explosion but a continuous fire so I didn’t have to light the surrounding area to f/11, there was no before and after moment.
It’s from a TV series I did called “Get Shorty”, Season 1.
The truth is that it is hard to underexpose a fire — look at the burning of Atlanta scene in “Gone with the Wind” shot on 5-to-10 ASA 3-strip Technicolor.
So you try and light for a higher f-stop at night to hold color in a big fire, but everyone runs into practical limits. The big Cyberdyne night exterior on “Terminator 2” was lit to f/5.6 for 500 ASA film just to have a chance of holding detail in big explosion.
I had a large fire scene shot on the Alexa and could only light the night exterior to f/2.8 but once the fire got really big, I was at f/8-11 when pointing at the flames in the wide shot and when I zoomed in close, I was at f/11-16! Luckily it wasn’t an explosion; if it were, I would have tried to light the location to a deeper stop, like f/5.6.
Yes, using a camera with good overexposure latitude helps.
Raw is uncompressed plus color temperature and ISO are not baked in. And you can record Open Gate. Practically speaking, if you shoot carefully, the difference is subtle… the ProRes recording has a standard amount of sharpening built into it, so you may find that the footage feels slightly more “electronic” than a raw conversion with no sharpening.
You’re mainly trying to be consistent within the coverage of a scene. Individuals in a space may be in different lighting ratios but when you go from a wide shot to closer shots, you try and make it feel similar in contrast. If you’re cutting to a reverse angle not seen in the master wide shot, you are more free to create a different effect.
You can use a light meter of course if you are concerned. Often you light a master –let’s say to f/2.8 — and when you go into coverage, you might adjust the light on the actor but not touch the background light so if you light the actor to the same level as the master, then the background will look the same as before. The ratio you often set by eye, especially if you are going for that “barely visible” level of fill. But you can use a light meter or tools like false colors, waveforms, etc. if you’re not sure.
If shooting digital with a DIT on the crew, you can also save a frame of the master shot and compare the new set-up to see if they are in the same ballpark — do an A-B comparison.
Like in most situations where you have issues with balancing light sources, it often depends on what is the simplest solution. If the windows are large and provide the majority of light in the space, then the simplest thing is probably to add some green to all your other lights inside and then pull the overall green out of the image by either using a CC Magenta correction filter on the lens or shifting the color on the camera towards magenta.
If the windows are small and in the background, it might be easier to put some Minus Green gel on them. If it is a night scene, then you can add some Minus Green gel to the lighting outside the window to counteract the green that the glass will add.
—
Any grass that is off-camera and below the frame could be covered with something to reduce the green bounce coming off of the grass, like some sheets of muslin, bedsheets, etc. Any on-camera grass and bushes reflecting some green light into the room is at least a motivated effect.
-
AuthorReplies