

Forum Replies Created
-
AuthorReplies
-
September 14, 2026 at 3:36 pm in reply to: control of hotspots on faces when trying to create soft light? #247188
Some DPs have mentioned using a polarizer filter to reduce shiny hot spots on faces, particularly in the early days of HD video when the cameras had limited dynamic range (“Sky Captain and the World of Tomorrow” for example.) I haven’t done this personally and usually the make-up person can help with shiny skin but you might try testing the polarizer idea…
It’s hard to make a room with light-colored walls look dark even when they are underexposed — faces always go darker first. You may be OK here with this celery color for the walls. Plus you should avoid white bedsheets and bed covers. A lot of the light from a table lamp bounces off of the ceiling and back down again, so you may want to pin some black material on the ceiling as negative fill.
Too many factors to consider — the type of lamp and lampshade, the desired effect, the ISO of the camera, the f-stop of the lens, and the distance of the actor from the lamp.
Here is a shot I did which was a long Steadicam shot going down a hallway and then turning left into a foyer and ending on a face. Since I saw most of the foyer at the end of the hallway at the start of the move, I couldn’t add much lighting so I asked art department for table lamps. I was probably at ISO 800 at f/2.8. I think the lamps had 75W tungsten household bulbs. The main thing is to carry a range of wattages to try out in the lamp. It also helps to put the lamps on a dimmer line. But if the lighting is only coming from the lamp then the actor can’t be too far away or else the fall-off will be too great.
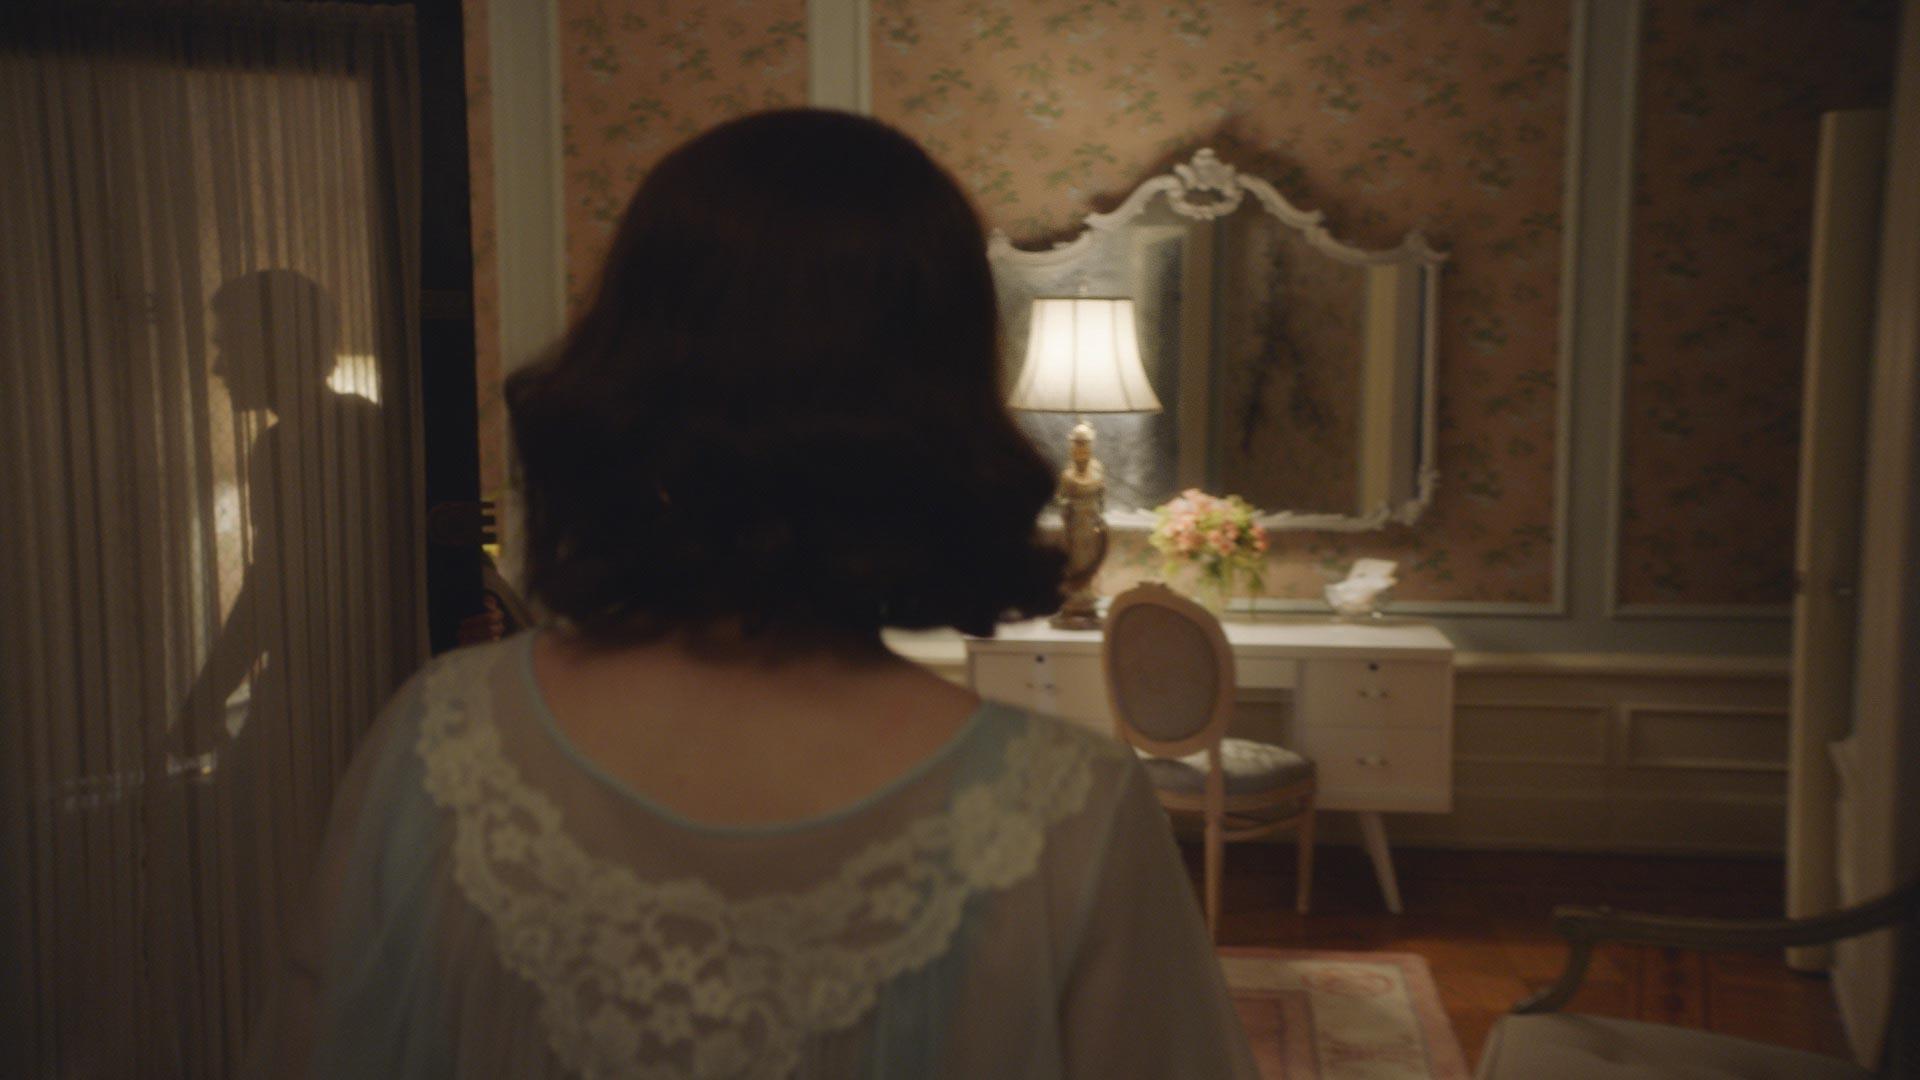
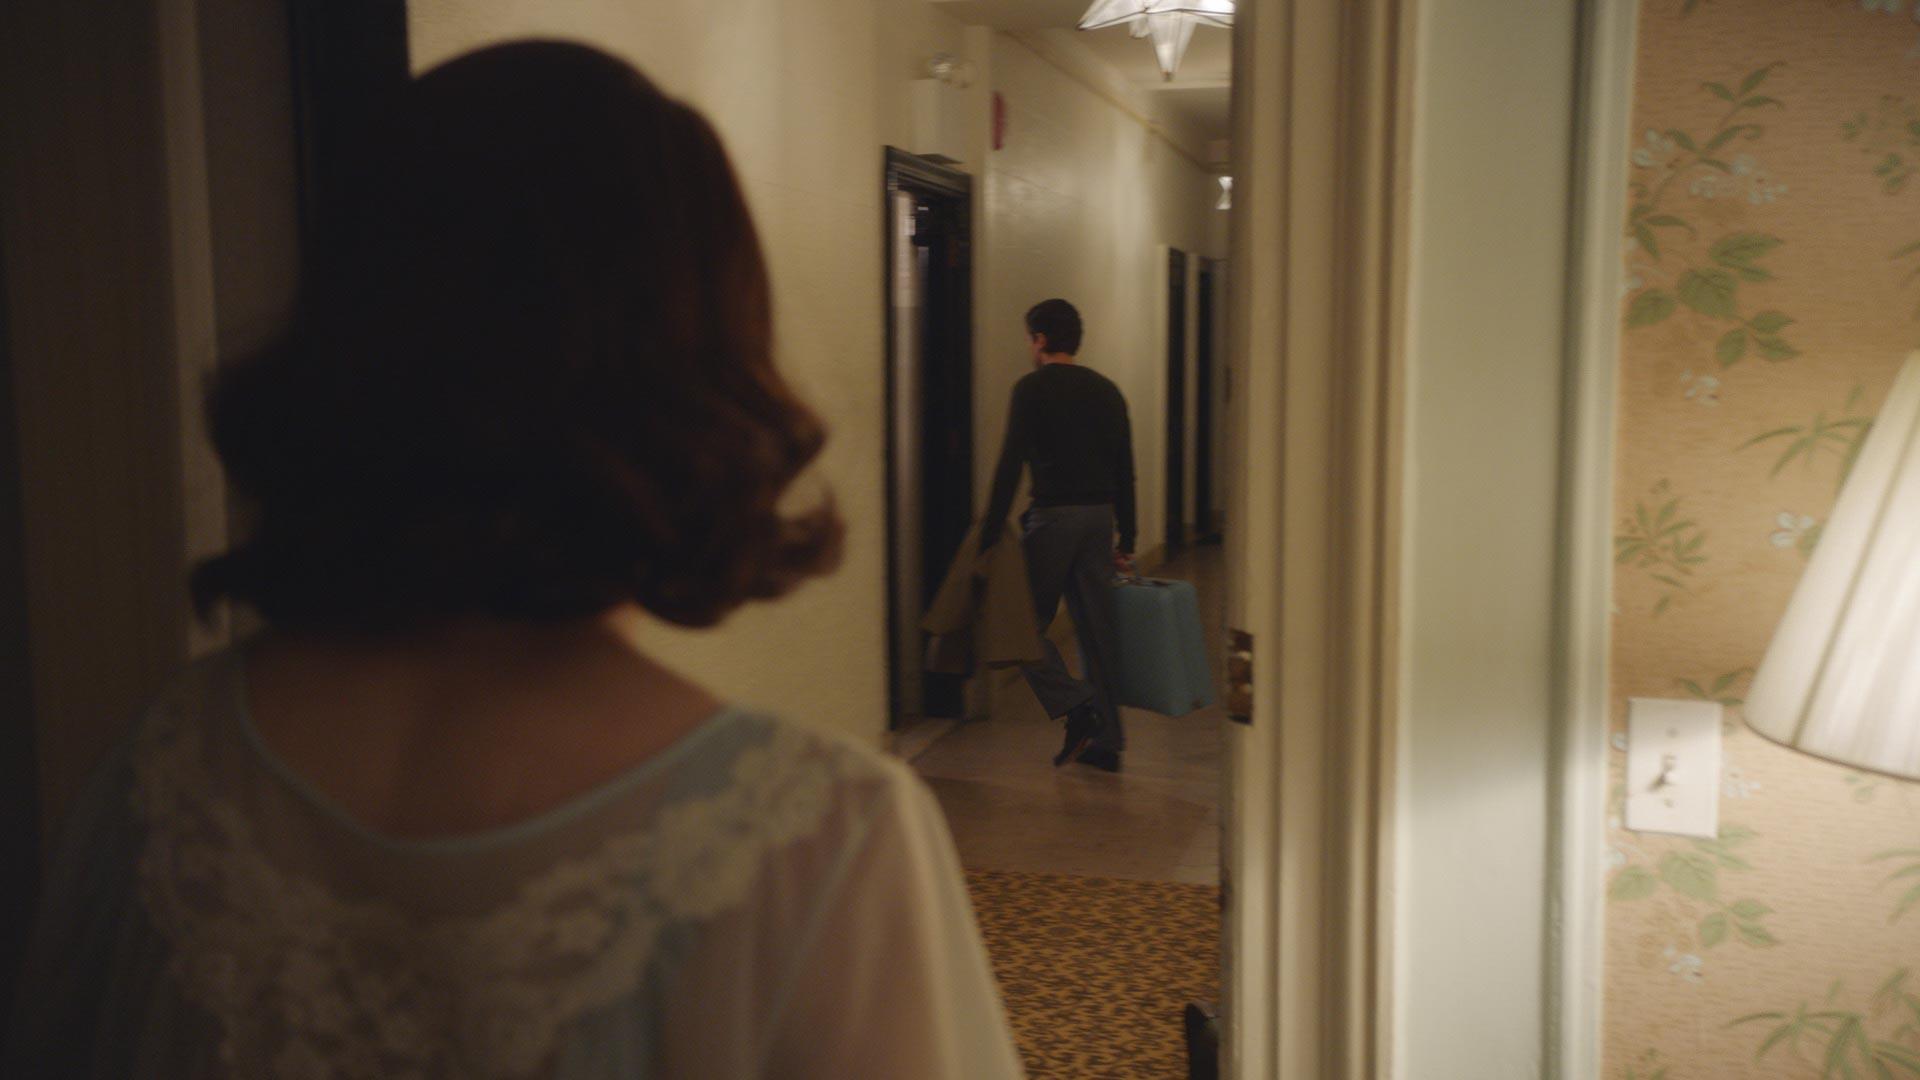
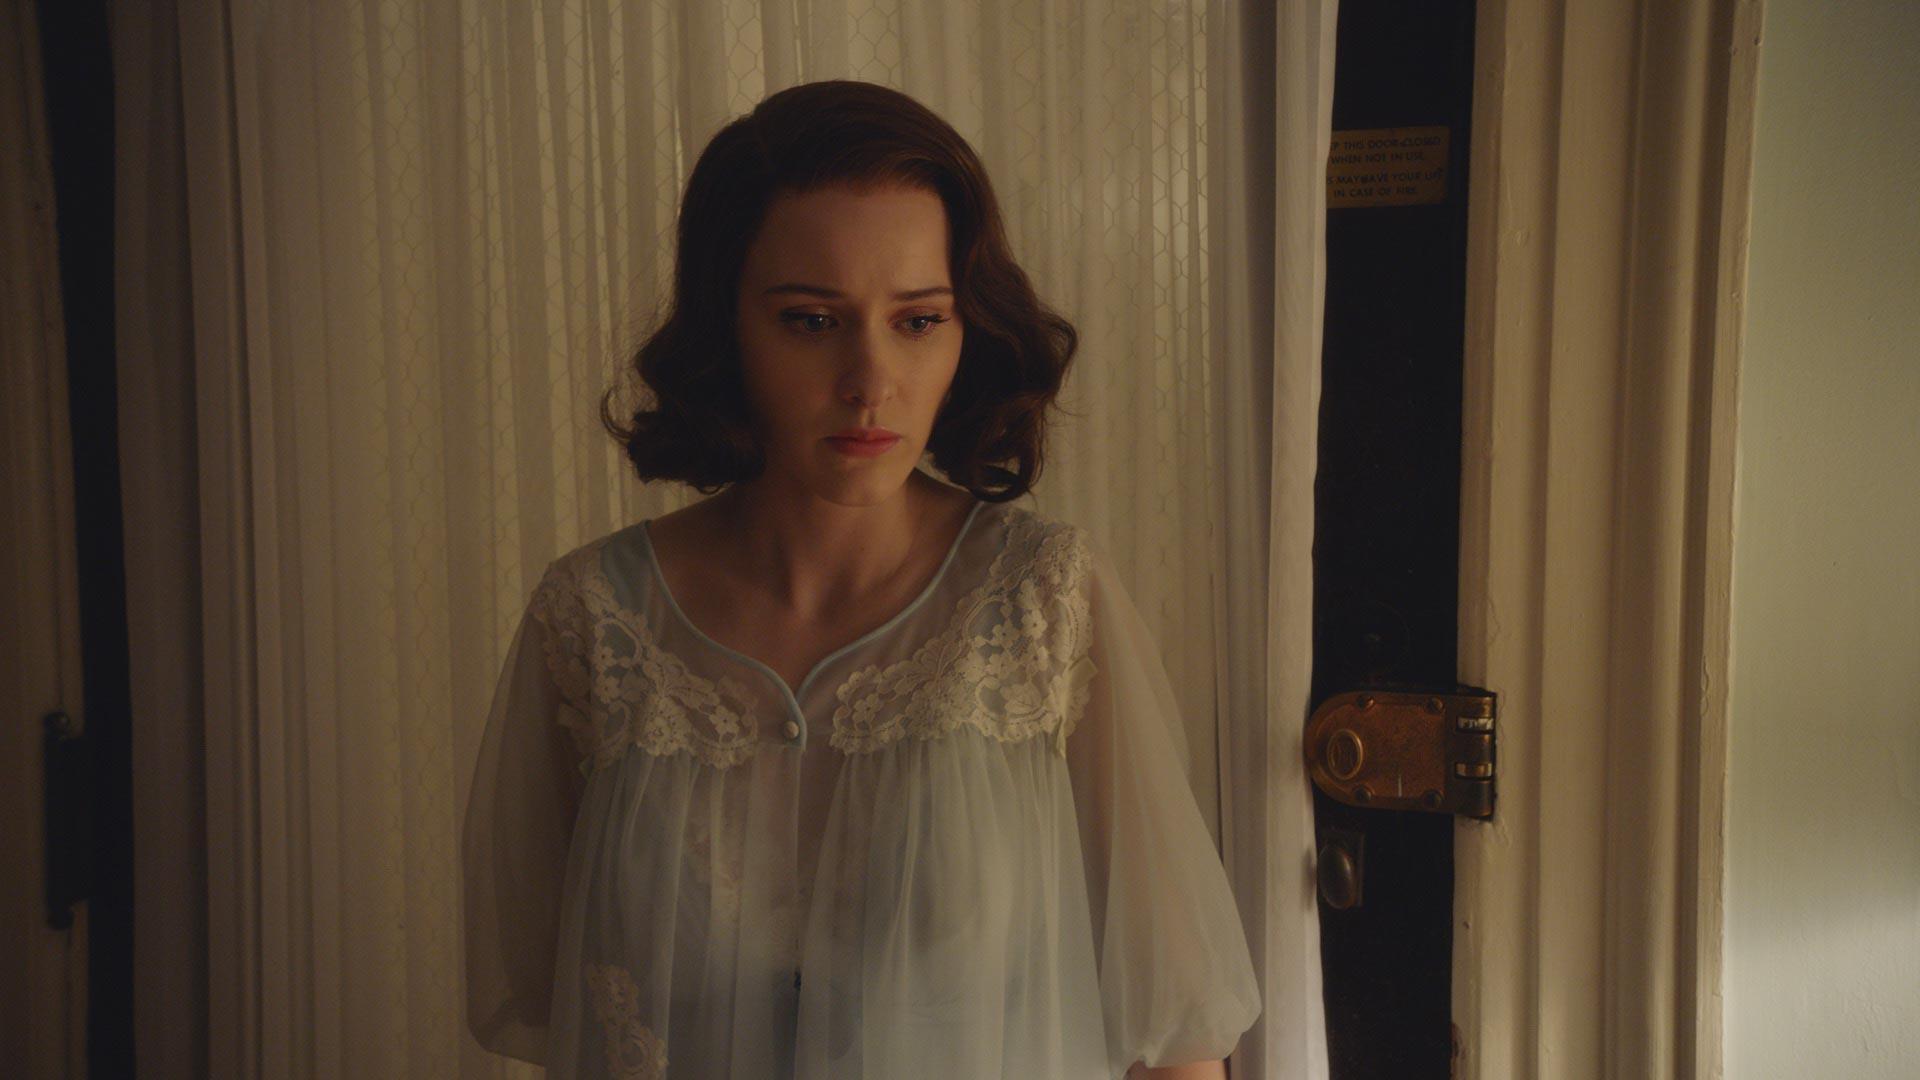
Maybe you don’t see extreme compositions all the time because if they were commonplace, they wouldn’t be considered extreme?
I don’t think there is a right or wrong way to compose if you have a purpose, if it feels correct for the scene. Sometimes subtlety, balance, simplicity in support of a performance or a quiet moment works better — you don’t always want to call attention to yourself.


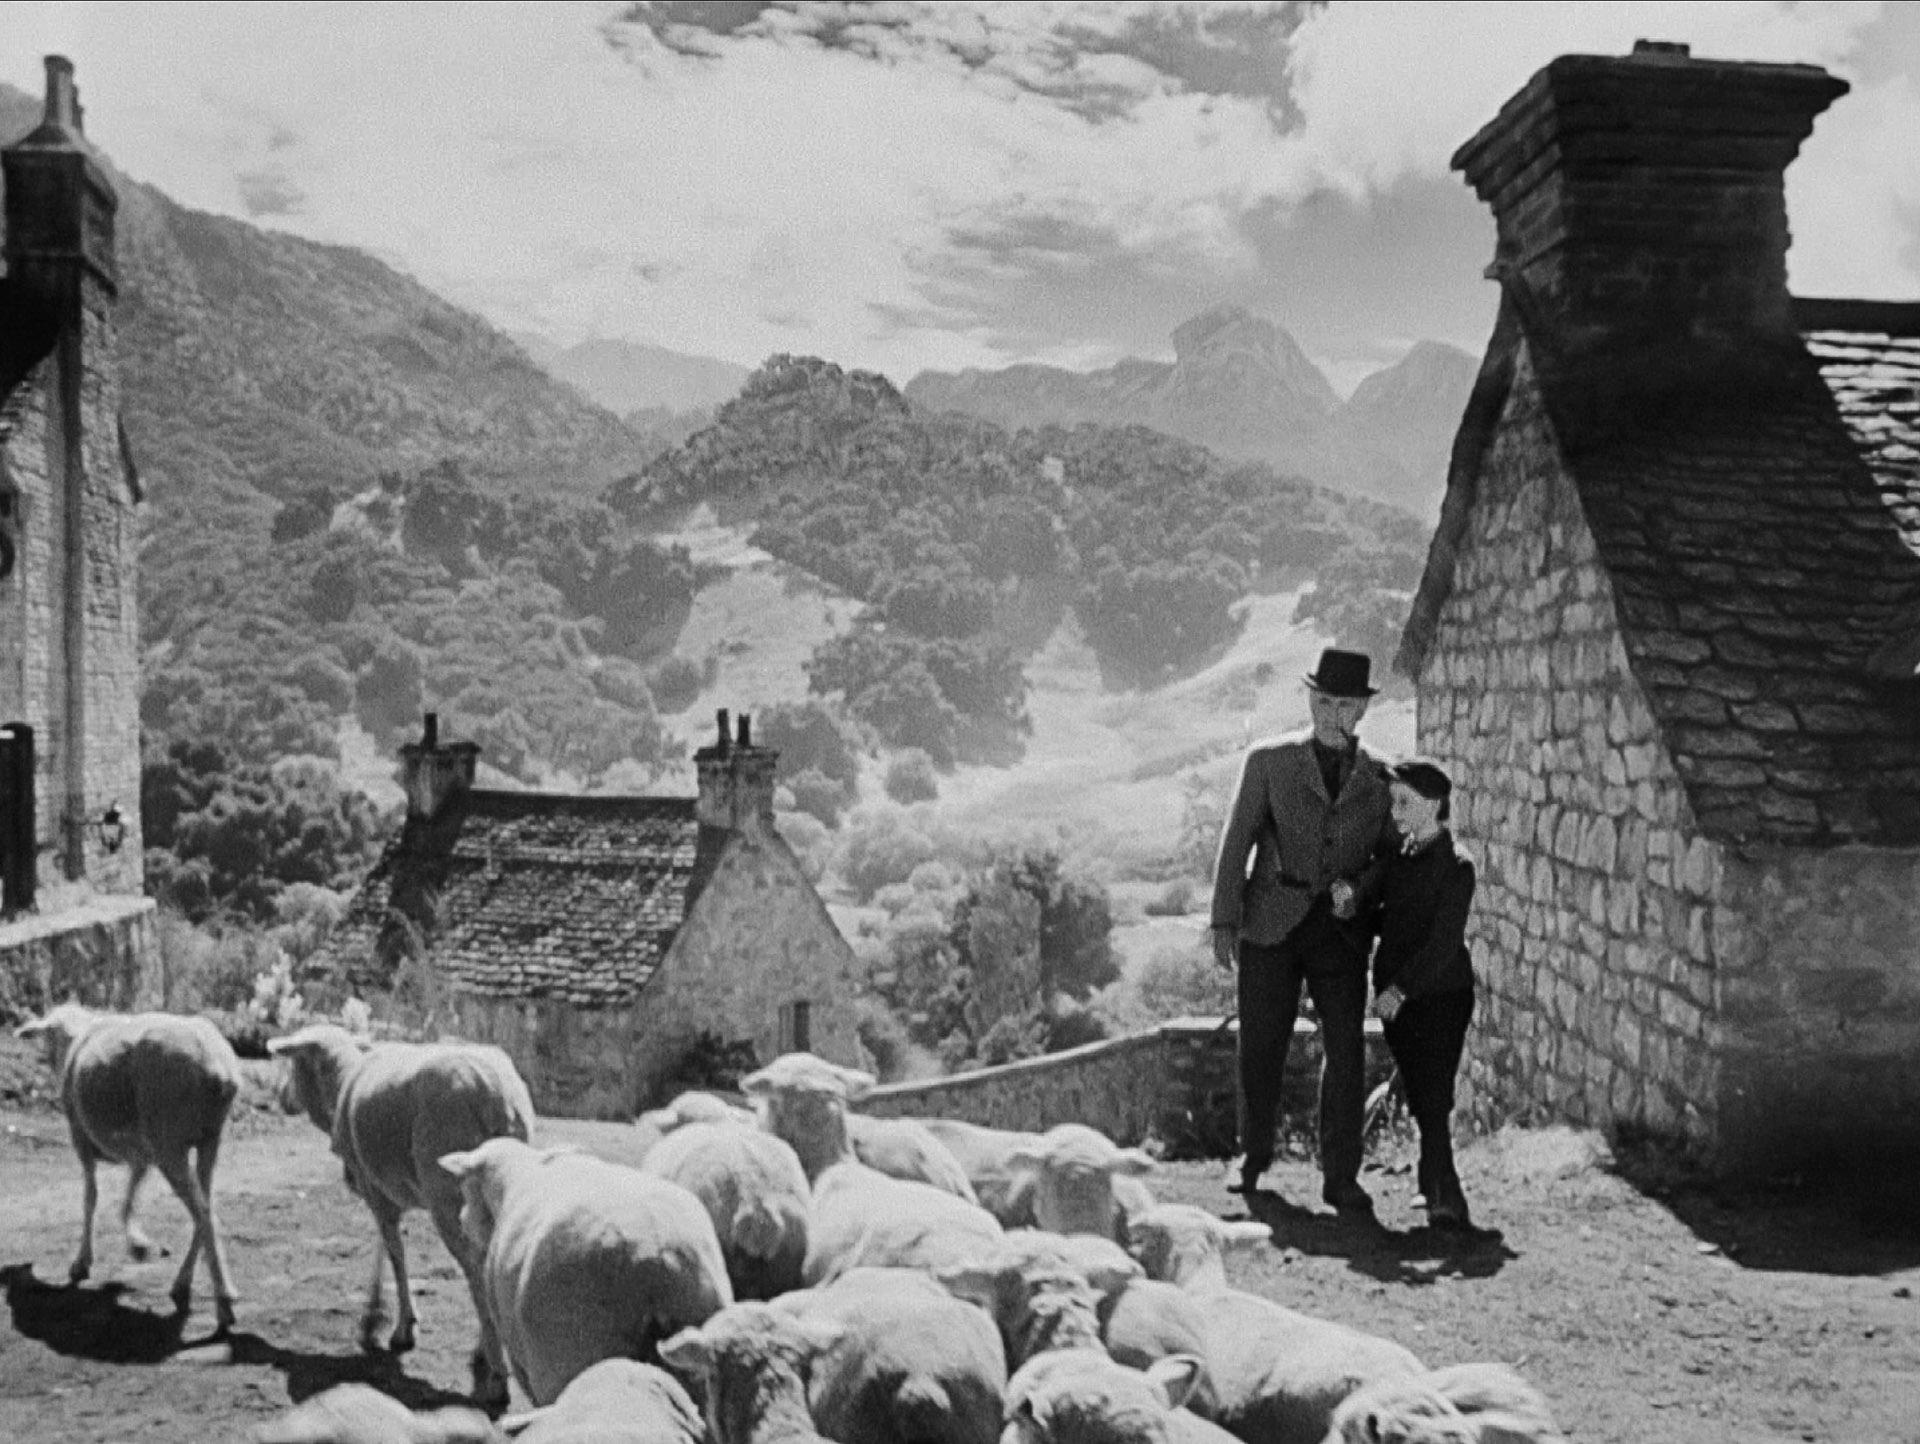
This may be the tech sheet for 5254 but it’s in German:
“Atlanta” used a high ISO for more noise to add texture to the image. I think that is less important here in terms of recreating the look compared to the lighting, which in those examples is soft with underexposed keys and negative fill / no fill / minimal fill.
You can’t light a large area of night with a single small light unless you have a camera with an insanely high ISO capability.
You could try hazing the woods and then uplighting/backlighting from behind a hill with a row of multiple small lights to silhouette the action, then use flashlights or lanterns held by the actors.
You could try shooting the wide shots at twilight and then bouncing a light into a large frame for close-ups at night.
You could try a camera with a very high ISO capability.
From “The Wolfman” shot by Shelly Johnson, ASC:
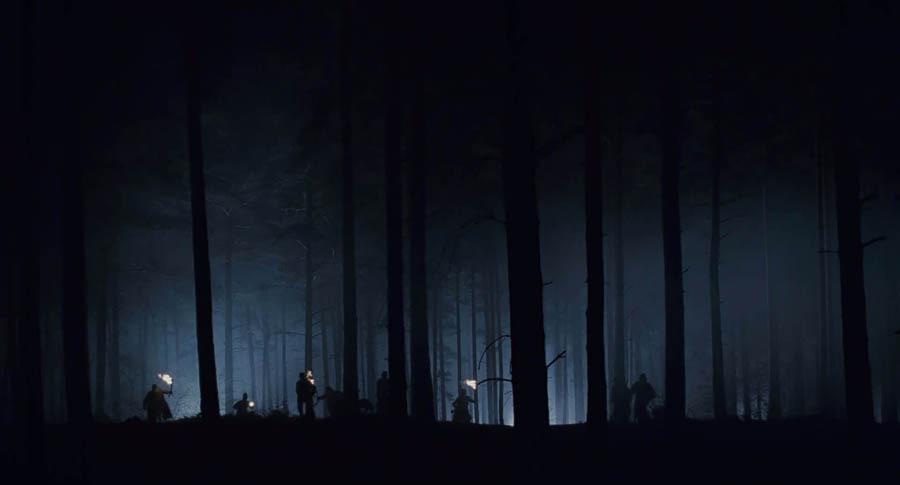
I don’t know if my experience is relevant since I started making films in the 1980s, but I started out with one powerful light I got in a garage sale for five dollars — an open face 650W tungsten movie light made for Super8 home moviemaking in the 1970s. (When the bulb finally burned out several years later, I found out it cost thirty dollars to replace it.) I was shooting Super8 back then, mostly slow stocks — Kodachrome 40 and Plus-X.
With one strong light, I could create hot backlight for a sunlight effect, I could bounce it off of a white wall /ceiling / bedsheets, or I could create a hard key light. I augmented that one light with paper lanterns for soft light, and some photoflood bulbs in reflector dish housings.
So my suggestion would be to find a strong LED hard light (ideally with a fresnel attachment), bi-color, and start playing with it direct or softened (bounced or diffused). And then also create one LED softlight, something that needs less grip work to soften. You’ll learn a lot with one hard light and one soft light. Bi-color will help you deal with daylight and tungsten situations and play with warm and cool light. You can also still use paper lanterns even with LED bulbs.
-
This reply was modified 1 month, 4 weeks ago by
dmullenasc.
One issue to consider regarding being closer with the camera physically on a wider lens versus further back on a longer lens is how any foreground elements (if any) come into play.
Not every close-up has to be “clean” — for example, if the point of the shot is to make the actor look surrounded by a crowd on all sides, then sometimes it is better to use a long enough lens to fit a row of foreground extras in front of the actor, seeing the actor through a gap to maintain the feeling of being trapped on all sides.
If your goal is shoot an actor from the chest-up, let’s say, then on one focal length you might be three feet from the actor but on another focal length you might be five feet from the actor. There might be practical reasons why one distance would be better than another, like if you want things passing in front of the actor’s face.
Bottom line is do your homework. Plan carefully. Shot list or storyboard. Then be open to any new ideas on the set if they are correct for the movie and you can quickly plan your coverage and editing around the new approach. Don’t rely on being an improvisational genius on the shooting day, winging it with no advanced planning.
Kubrick had very, very long shooting schedules planned and then he usually went over schedule. He spent five days shooting the final push in on the photograph for “The Shining”… and then a week later spent a few more days reshooting it! He also did extensive lighting tests of every set during production — on “Full Metal Jacket” he spent a week lighting and testing the bathroom for the night scene when R. Lee Ermey is killed. Most of us don’t have that luxury. Being well-organized with pre-planning doesn’t exclude the possibility of coming up with new ideas on set.
Yes, filling a frame evenly with light achieve it’s maximum potential softness for that size.
However, keep in mind that maximum softness doesn’t have to be the goal, sometimes you need less softening or you want some texture in the soft light by having some specular light mixed in. I’ve put a frame of 1/4 Grid in front of a hard light sometimes, which definitely gives you a hot spot in the center and not much softening, but that was intentional — the wide master had a hard sunset effect coming into the room and I wanted to just slightly soften the light on close-ups without changing the look dramatically. Some DPs will shine light through a porous material or bounce off of a pebbly surface to give the soft light some texture from faint specular hard light being mixed in.
Theoretically, if you evenly fill a 12’x12′ surface, let’s say, with light, corner to corner, the softness is the same whether or not it is a bounce surface or light passing through diffusion — the 12’x12′ surface is the “source” creating the soft effect, not the lights behind or in front of it. Practically, however, there are reasons why one technique might create a softer effect than another because it is easier to fill the frame evenly from edge to edge with minimal hot spots.
It is a bit easier to put flags in front of a diffusion frame rather than a bounce because of the lights in front of the frame that the flags have to work around, plus you don’t want the flags to actually cut into the beams of light hitting the bounce.
Roger has stated in the past his issue with grids as opposed to flags for cutting light, that they can make the soft light seem sharper. I use grids now and then but you can see the issue with them if you stand where the subject will be and move around a bit. If there is a grid as soon as you move side to side, you see less of the total soft light surface especially around the edges — meaning it starts to get less soft. It depends on how close the grid is to you and how deep it is, etc. This is one reason I don’t use a grid on a directly overhead soft box (I use a skirt instead) because actors often are not dead-center under the box and you want them lit when the box is a bit ahead or behind them too.
Roger has mentioned in the past that sometimes he puts a row of vertical flags in front of a soft light as sort of a louver to control their spill.
Normally I’d agree that there should just be one aspect ratio for a movie — I don’t recommend, for example, showing an old 1.37 Academy movie in any other aspect ratio.
This is a bit different for a couple of reasons — first is that IMAX traditionally (I’m talking about the original 15-perf 65mm format projected in special theaters) was always designed to be composed with an excess 1/3 space at the top, extra headroom, because the theater is designed for your eye to go to the middle of the very large and tall 1.43 screen. To some degree, the area at the top of the screen is like the sky above your head, extending to the edges of your vision unless you sit way back in the theater. Not that Nolan seems to compose his IMAX photography with that much headroom but on the other hand he composes with enough headroom that the blu-ray versions of “Oppenheimer”, “Dunkirk”, etc. show the IMAX scenes in full 1.78 : 1 HD cropped from 1.43 and the headroom looks fine.
Second, the Digital IMAX screens are 1.90 : 1, not 1.43 : 1 and more people are going to see that version rather than the 15P 70mm prints.
Third, Nolan likes to release also in 5-perf 70mm 2.20 : 1 and 4-perf 35mm 2.39 : 1 prints.
Clearly he is fine with shifting aspect ratios in the past although this movie was only shot in IMAX, not a mix, so he could have simplified things a bit and picked 1.85 for his non-1.43 IMAX showings as a second aspect ratio rather than 1.43, 1.90, 2.20, and 2.39 in this case. 1.85 is very close to 1.78 which is what the HD blu-ray versions would be anyway. The 5-perf 70mm could have been side-masked to 1.85. But I think he’s being a bit of a showman wanting to make each version special in the theaters and he seems fine with the reframing.
I would add that you can tell it is a very large soft light close to her because the shadows are almost horizontal so it is eye level and yet she is looking down and you can still see the light reflected in her eyes — which suggests a soft light that is almost her height.
-
This reply was modified 1 month, 4 weeks ago by
-
AuthorReplies
