Forum Replies Created
-
AuthorReplies
-
I think that it has something to do with remembering that it’s actually the director’s movie, not the cinematographer’s one (i think Roger said something like that in an episode) and so accept it as an aspect of working as a professional cinematographer.
By the way, i have the very same doubt you have, but while editing my little short i noticed a thing. The more i focused on rythm and storytelling, the more i found easy to “let go” shots, even cool ones or complicated ones that required me a lot of effort. Perhaps visually interesting shots but useless in the storytelling. The script and the shot list followed a scheme, but when i begun altering it in the editing phase, taking away things, changing the order of scenes, making them shorter and more focused, forgetting that i shot them and considering them as a work of another person, then i finally found my story and everything begun working together in a nice way. If you spend hours on a shot you are very attached to it. But you need fresh eyes and a different mind to understand if that shots really helps the story, that’s what i learned so far!
Only if you activated the premium subscription. 😀
Just kidding of course! But now i can’t get out of my mind the idea that in theory i could randomly find James and Roger at my door. 😀
I find comforting that even during the AI siege there still are people willing to know how real techniques work and people that still know how to teach that.
I wonder how much we’ll lose in terms of knowledge because of AI.
Sorry for this completely unrelated rant!
From what i’m reading you could adapt some type of modern film to some models of camera, so It seems that It’s possible in theory.
Or you could use a different approach, a bit like what they did with The Lighthouse to create a vintage look.
February 8, 2026 at 4:38 am in reply to: Which version do you usually choose? Original or restored? #221600What i find interesting it’s why are we so charmed by that look, the one digital images miss and we try to recreate in post production. Perhaps is it because it’s linked to childhood memories? I think that there’s some kind of imprinting that creates that “film look” idea. I was a child in the eighties and the first movie i remember at a cinema was The Last Crusade, so to me reading the words “film look” makes me think to Indiana Jones instinctively.
PS:
Welcome!
I don’t know if the bug still exist but if you need to edit a post uncheck the “keep log” under the form before submitting the editing or it could block the post and stuck you account for a while. It solved the problem for me at least!I’m not an expert but i suppose that, even if you could find a real camera from that era still working (and, quoting Indiana Jones, it should be in a museum, ah ah!) , the problem would be finding a film stock for it.
Thanks a lot, you are very kind!
To be honest I actually hope that post production will finish, i’ve been stuck with it for months and i can’t get out of the it, ah ah! Jokes apart, i’m doing everything alone and it’s a bit complicated to follow an entire production (even a micro one, like mine) alone. But i’m having fun, i’m learning a lot about everything (editing, color correction, vfx, sound mixing, etc etc) and that’s fine.
Let’s hope that the result won’t be a complete disaster, ah ah! 🙂
I never used it but i was considering it too for my next short, it seems a nice camera and the price at the moment is very interesting (and usually it comes with a DaVinci Resolve Studio licence, at least the shops i checked here in Italy) .
What made me change idea about it was the lack of stabilization (but it couldn’t be a problem for you, if you don’t shoot handheld and you use a tripod or a gymbal or other tools) and the fact that the monitor is not very bright and can’t change angle (unless you customize it someway, i’ve watched some videos about mounting the monitor on an external case or something similar but i don’t know if the warranty would allow that), so it could make it complicated to see the monitor outside.
Summing up i’ve read gread things about it and the quality of its image and i’d like to try it for a while, but i think you’ll have to find a way to stabilize it and perhaps an external monitor to fully develop its potential. Let me know how it will work, i’m curious about it!
And good luck for the movie! 🙂
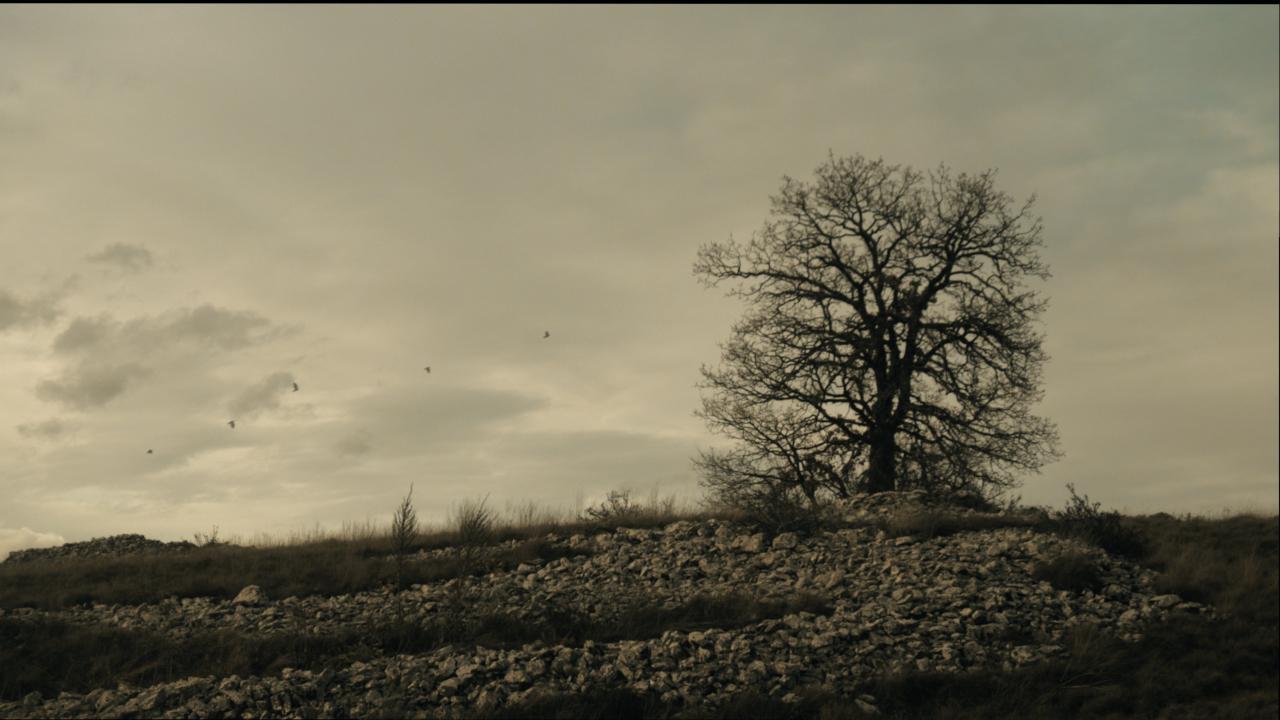
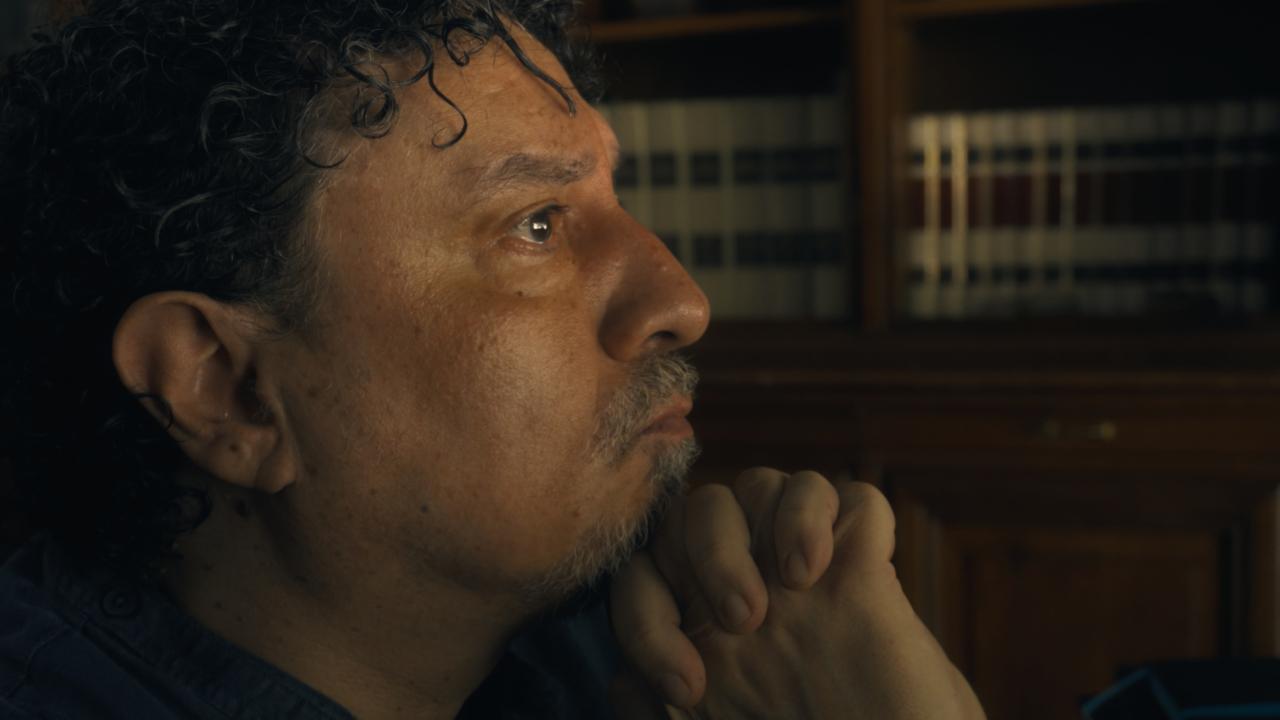
After countless nights on DaVinci Resolve i hope to have found the right look for the short. I know how i want the scene to look like, but translating that in DVR is a completely different matter. The Team Deakins episode with James Slattery perfectly described my problem (“ok, i know i need a bit more of blue here, but how much exactly?”) .
So, this said, here they are a couple of frames from my short. We worked with no budget, no real lights (Just Natural light and some led bulb for night scenes) and just my Sony A6400 with kit lens. Add to this the fact that it’s an horror short movie (and it’s really easy to fall in the trash style with that genre) …and the disaster is served! Please believe me, i rarely felt as ashamed as in this moment, but i need to start from somewhere. 🙂
Thanks a lot David!
From what i’m experiencing (little or nothing, but one has to start from somewhere) the core of the problem, as you said, is finding the right way to tell the story with the right camera movement, the right lens, the right lights, the right composition (as in the example you described) etc etc. As i think everybody at their beginning i tend too to fall in the trap to mistake “nice, pretty and cool” cinematography with “right” cinematography
And that comes with talent and experience, but unfortunately i lack both at the moment, ah ah! Not an easy journey, but a great adventure as well! 🙂
Thanks!
At this point i am slowly beginning to suspect that perhaps the secret could be to follow the istinct, since it’s like the thousandth time you answer that way to every “rule involving” question. 😀
Ah ah! it didn’t solve the mistery but it made me laugh, and it’s way better i think.
And by the way, we know Roger’s admiration for Tarkovskij’s movies and for the emotions they convey in an almost abstract way: i think this explains a lot. I think that emotions and instinct are important aspects of Roger’s approach, maybe even more important than the lens or the camera or the Digital vs film debate or whatever (at least It’s the impression i have, only Roger can actually explain his approach and i think the new book It’s the best way to Discover that) .
I think that Roger’s style is an example of “Total bigger than the sum of the parts”. With the same equipments and lights and the same naturalistic approach i think one can obtain the same visual effect, but it will be still miss something i think. As Stip suggested, It has a lot to do with camera movements and placement, but in general i think the story plays a big role in It. Think to Jesse James death’s scene. Perhaps It’s not technically impossible to recreate something similar. But when you see It in the movie, with the story that far, the music, the actors talent (they tell an entire story with just theit eyes in that scene) , their movements together with the camera ones, the angles that Roger used, etc etc. One can create the same scene from a technical point of view, but you need a great story and great actors to create the same emotion and you need a cinematographer like Roger to know exactly how to transform this emotion in a movie frame.
Merry Christmas and happy new year to everybody! 🙂
-
AuthorReplies